Custom Catalogs & Asset Management
You can now upload your own custom catalogs for your customers to search. You can upload a custom part/sku list, as well as images, using our Asset Management Tool. There are three primary steps to creating a custom catalog which we will outline below.
Creating a Custom Catalog
Navigate to your Member Details page, from the main menu in the top right.
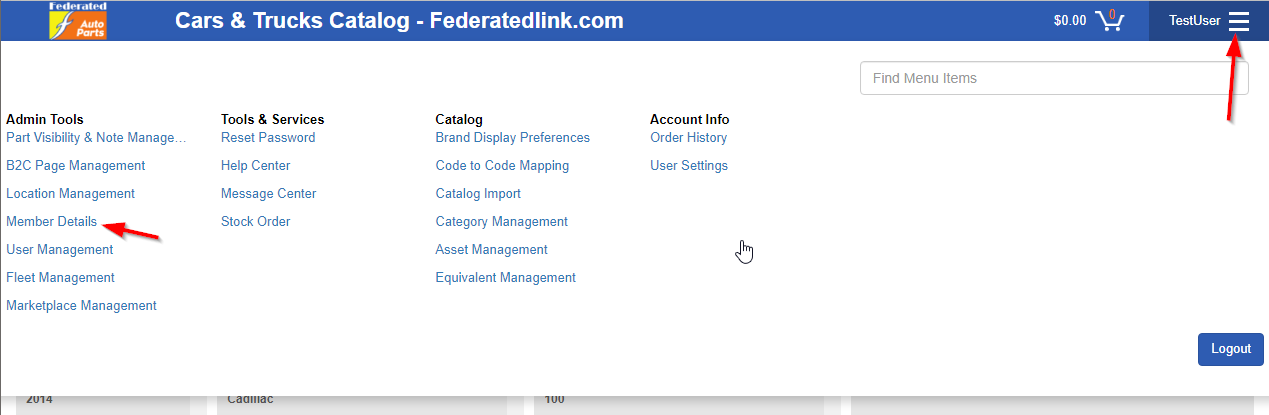
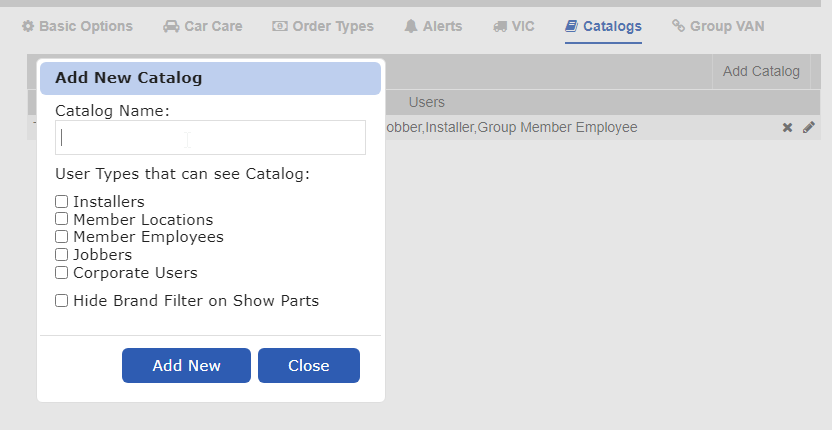
Click on the Catalogs tab, and then the Add Catalog button. Enter the name of your custom catalog, and check the boxes for each user type you wish to include.
Upload your Catalog Data
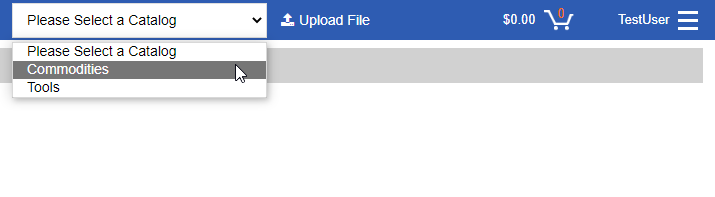
Once you have your new catalog created, we need to import your catalog data. Go back to the menu in the upper right corner, and click Catalog Import under the ‘Catalog’ header.
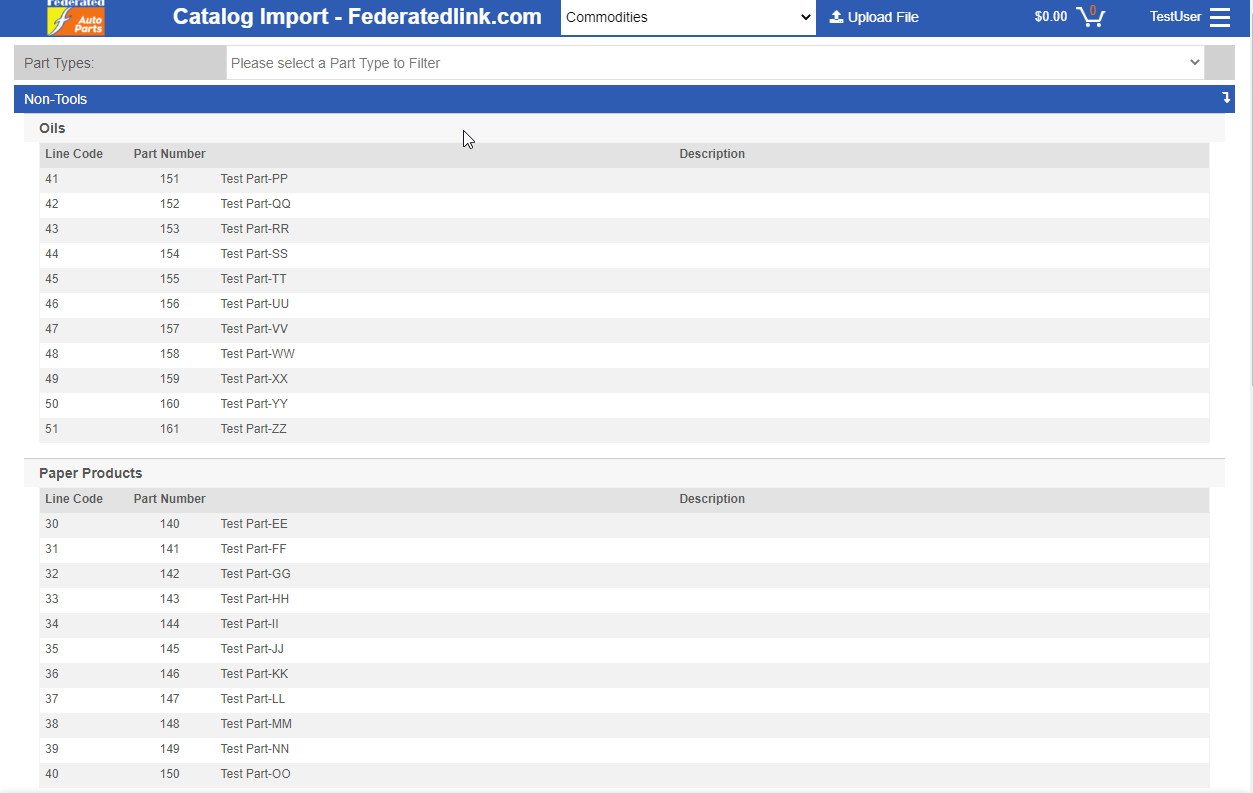
Then select the catalog you wish to upload from the dropdown menu along the top of the page, and click ‘Upload File’.
Once your file has been processed, you can see your new catalog data broken down by Categories, on the import page.
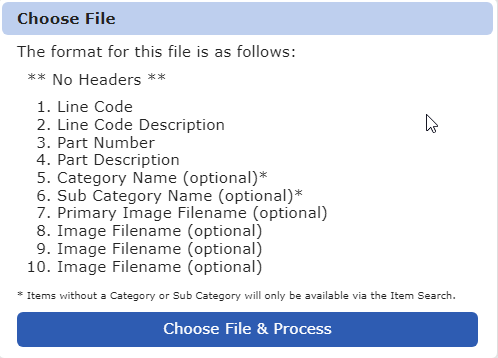
Pay special attention to this pop-up, as it is intended to show you the format you will need to follow for your parts to be displayed and found properly by customers.
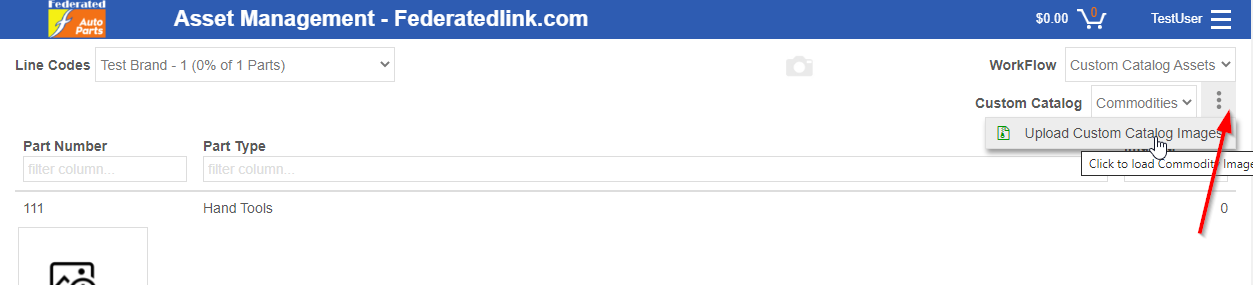
Asset Management – Uploading Images for your custom catalog data
Uploading Images for your parts can be done in 2 ways. If you have a smaller data-set, you may choose to upload your images manually, but you can also assign image file names to the parts in the file itself when you upload. If you assign image files to the parts during the ‘Catalog Import’ step, you can come to the ‘Asset Management” screen to upload your zip file of images.