Catalog Display Management
Below is an outline of the Catalog Display Management tool and how you can use it to control brand and/or Part visibility and priority within the FederatedLink catalog for your customers.

- Click Menu Icon
- Click Brand Display Preferences
- Select Workflow Type
- By Part Type
- By Brand w/ Part No
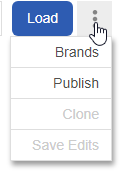
- In the ellipsis menu there are options for:
- Brands – Takes you to the higher level Brand Management page where entire Brands can be enabled/disabled.
- Publish – Publishes any saved edits you have make in this tool, to all of your users.
- Clone – Allows you to close your selected Region’s setup to a different Region.
Brand Workflow
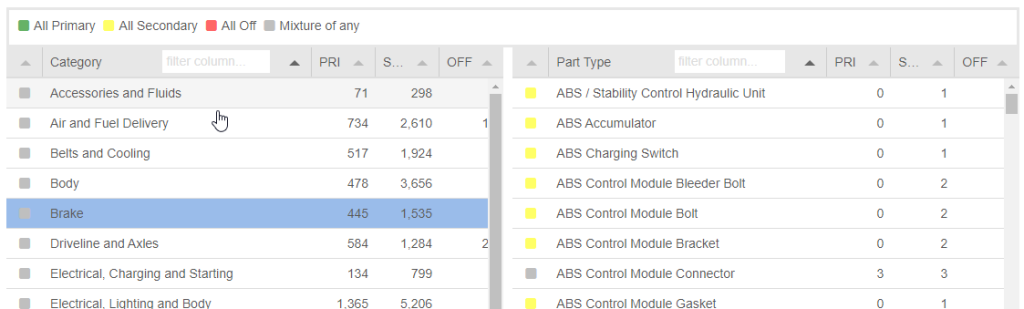
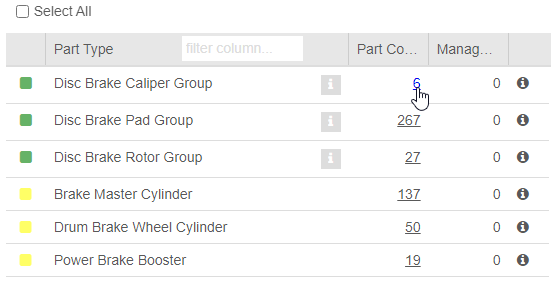
This page is managed with 3 columns – the first being Brand. This column displays catalog brands, with their status, and number of Part Types. When you select a Brand, it will show its Categories, and Part Types in their respective columns.
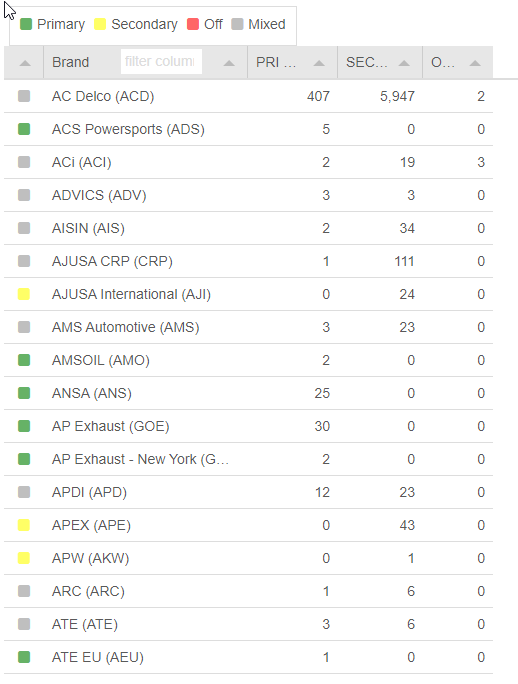
- Primary Brands (Green)
- Brands will appear at the top of user part searches.
- Within Primary and Secondary Brands you can rank certain brands above others in order of display preference. Higher on the page, means higher on the page display. (Only in Part Type workflow)
- Secondary Brands (Yellow)
- Will appear if you have ‘Show All’ enabled on the parts results page, showing additional brand support for user part searches.
- Off (Disabled) Brands (Red)
- Will not display in the catalog for any users under any vehicle lookups.
- Mixed
- Contains Part Types that are in both Primary and Secondary states.
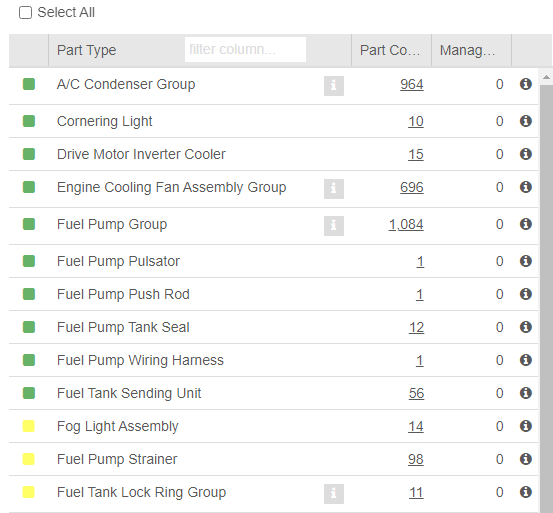
The Part Type column shows Part Count, as well as the count of parts being managed via the visibility tool.
- Click the [ i ] next to a Part Type Group, to see all Part Types included in the group.
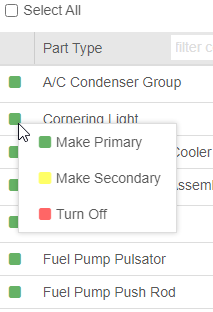
To manage Part Visibility within a Part Type, click the Part Count.
To change the status of a Part Type, right click the colored square and make your selection.
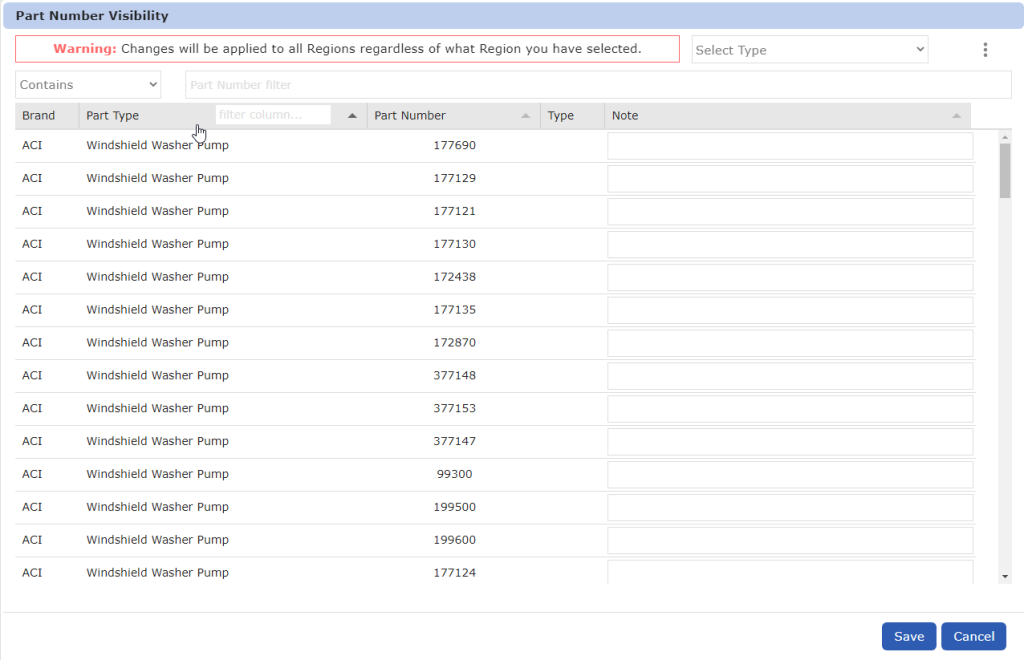
To work on Part Visibility within a Part Type, click the Part Count. This opens the Part Number Visibility window where you can work on Include or Exclude workflows within that Part Type. Simply find your desired part numbers via the filters above. Here you can also enter part number specific notes.
- In the ellipsis menu there are options for Select or Deselect All, as well as an Export.
Part Type Workflow
The primary feature of this workflow, is to allow you to rank Brands within a Part Type, to prioritize your chosen brands.
Begin by selecting a Category, then Part Type, and you will see the list of Brands in the 3rd column.
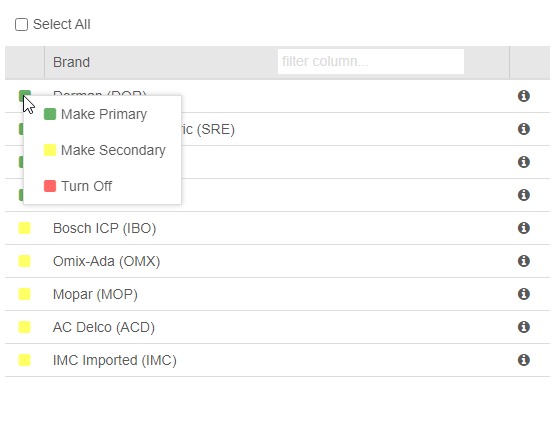
In the 3rd column, you can now set Brands as Primary, Secondary, or Off for that given part type.
Also you can drag a brand above or below other brands in the list, to decide your preferred rankings.
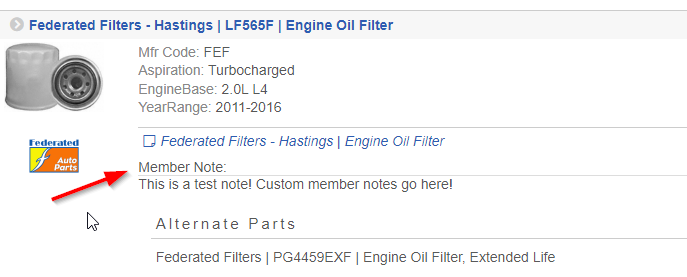
Part Visibility & Note Management
When working in the Brand Workflow, you can drill down to the Part Type level, and then click your Part Count to manage Part Visibility as well as Notes.
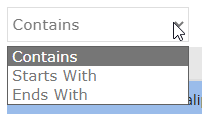
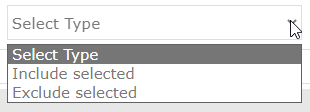
You are presented with a window that allows you to Include or Exclude selected parts within a Part Type, and also add Notes at a Part Number level that are viewable to your customers during lookups. Simply filter down to your desired parts using the ‘Contains’, ‘Begins with’, or ‘Ends with’ options, or the Part Number filter along the top, then select a workflow ‘Include’ or ‘Exclude’ from the top right corner.
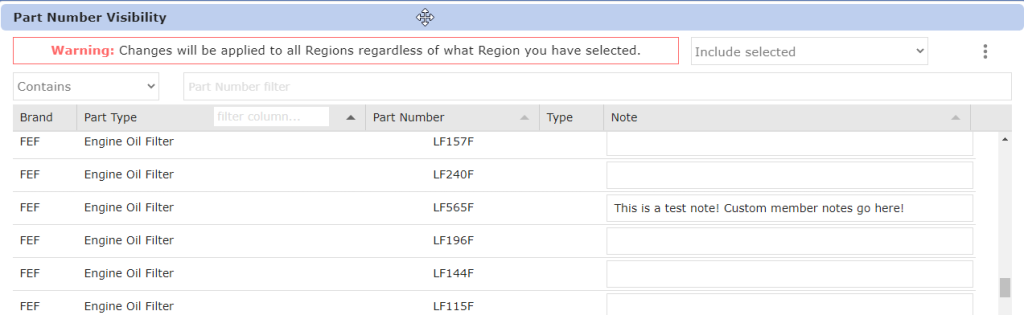
Once you have entered your custom Notes, click Save and they will be viewable across all Regions and users within your catalog. Example below: